I wrote about my successful Fellowship of the Irish Photographic Federation (FIPF) in a recent post, and a number of photographers have requested more information on my fellowship journey, as they are also considering working towards the same or similar distinction.
My final successful panel looks significantly different than the initial one, so I thought it worth giving an overview of how I got from one to the other. As such this post is not the usual collection of my images, it’s quite long and is more likely to be of interest to people putting together a panel for a distinction, as well as a reminder to me.
WHAT?
A Fellowship is usually the highest earned distinction offered by a photographic body, for the IPF they state that a Fellowship panel should be “20 prints that demonstrate distinguished ability and/or style in a specialist area of photography. The panel of 20 prints must sit together as a balanced cohesive set of images”.
I have many award-winning images, but I try to make all of my images quite different from each other, so these images are not likely to sit together as a panel, and the panel is judged as a whole rather than on the quality of the individual images.
The requirements also mention ‘style’, and that is one of those things that you can try to hard to develop, when in fact you are more likely to develop one by not trying at all and just doing what comes naturally producing images you enjoy. A few years ago I tried to develop a style by cherry-picking the good bits of other photographers styles that I admired, but I failed miserably and when I stopped trying people then started telling me that I had a style, I was probably hiding it by trying too hard too mimic others.
WHY?
I started applying for distinctions as they gave me a goal, which gave me an incentive to improve my photography, and I believe that it has worked for me. While I don’t often use the letters that I am entitled to for achieving the distinctions, working towards them has ensured that I have created a substantial body of work. I am certain that I would have improved at a much slower pace without them.
I decided to work towards a Fellowship of the IPF as I thought a panel-based distinction would be a good project given that I normally concentrate on individual images. I have many great Irish photographer friends, many who have achieved Fellowship, and Irish photography is very well respected due to the many very talented Irish photographers and how well Irish camera clubs do when competing internationally. This meant the Fellowship would be sufficiently challenging to achieve, while being highly respected.
FIRST THOUGHTS
So how do you get to a Fellowship panel? Unfortunately there’s no instruction book or route guide, you read the requirements, you look at other successful Fellowships, and then you get some ideas together, start putting together a panel and see how it develops. More than one person said that I would know a Fellowship panel when I saw it, which at the time I thought was a most unhelpful comment.
I started putting together a panel a year or so after gaining my Associateship, I thought about the type of photography I did, what I enjoyed, what I was known for, and decided the theme should be ‘location nudes’. Unfortunately the initial draft panels I put together just looked like 20 good location nudes, and even to my eyes they had no cohesion and did not fit together as a panel. Also a Fellowship panel often has a quite specific subject or approach, and ‘location nudes’ is actually very broad. I did trying narrowing it by just just using images of models with rocks, but even then they didn’t seem to gel together.
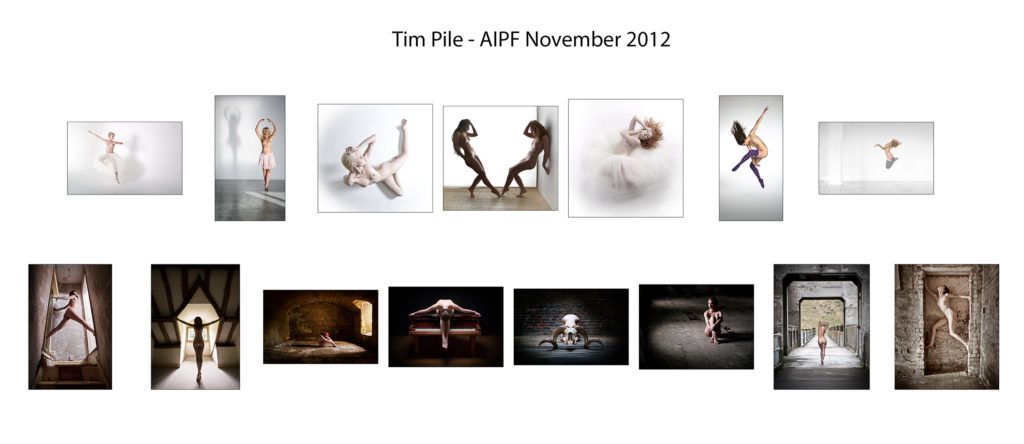
This was my Associateship panel, and while the top row are mostly studio nudes the bottom row is more representative of where my photography was going.
I also didn’t want to just produce a panel just to achieve a Fellowship, I wanted a panel that I would be proud of, and more importantly I wanted it to be recognisable as mine instantly. I have this recognition with many of my images, with people saying that they knew it was my image before they’d even looked at the author, and that was something I wanted to bring through to the panel.
When showing my draft panels to other photographers one of the common comments was that I had multiple images of the same model, and that more that 3-4 of the same model could be classed as repetition. I kept producing draft panels, but I could tell that my heart really wasn’t in it, I gave up trying and forgot about the panel, and instead of working towards a Fellowship I just carried on doing what I enjoyed, producing images with great models.
THE IDEA
At about the same time as putting the Fellowship on the back burner I started working with a new model, Lulu Lockhart. We get on very well with each other, we both want to create the same type of imagery, and soon had a great working relationship that was also extremely productive.
After we’d been working together for around a year or so I realised that I was really liking the images I was producing with Lulu, and as I was no longer entering competitions we were producing images that seemed that could be suitable for a panel. I also had the thought that if 3-4 images of the same model was repetition in a panel what about all 20 of the same model. A Fellowship should be about doing something different, and I’d not seen any other panels based on a single model. The model would then be the theme of the panel providing the cohesion, and the variety would be achieved by 20 different poses and locations. It would mean doing quite a few shoots with Lulu to get sufficient different images, but given that quite a significant proportion of my shoots were with her anyway, and our shoots were really enjoyable as we both seemed to be on the same creative wavelength, it was hardly going to be a hardship working with her to get more images :)
PANEL IMAGE SELECTION
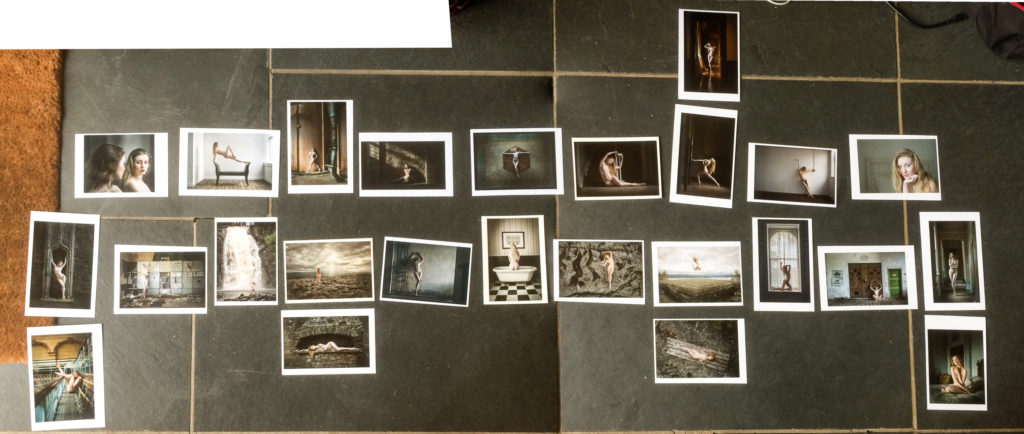
I had a trip planned to visit a good friend and talented photographer Jay Haines, I printed out around 60 potential images in A6 size and took them with me. The panel was put together by creating pairs or groups of images that looked as if they balanced in shape and/or tone. During a few hours one afternoon we had soon put together the makings of a panel, and this was really the spark which made me really work on the panel in earnest and made me put in my application to the IPF.
Shortly after coming back from Jay’s in early April 2016 I applied for an assessment in September, but being the cautious type I knew that there was a deferral process, so that if I wasn’t quite ready I could defer to November or even to an assessment in 2017, this gave me a bit of wiggle room so I was quite comfortable with my plan. However on 12th May I then received an email from the IPF – “Deferring your application no longer an option! From 12th May 2016 all deferrals of distinction applications will cease.” I think a little bit of me was quite pleased, as when you can defer you have a bit of contingency and you might ease up, taking the contingency away from did give me a little more drive and an immovable deadline.
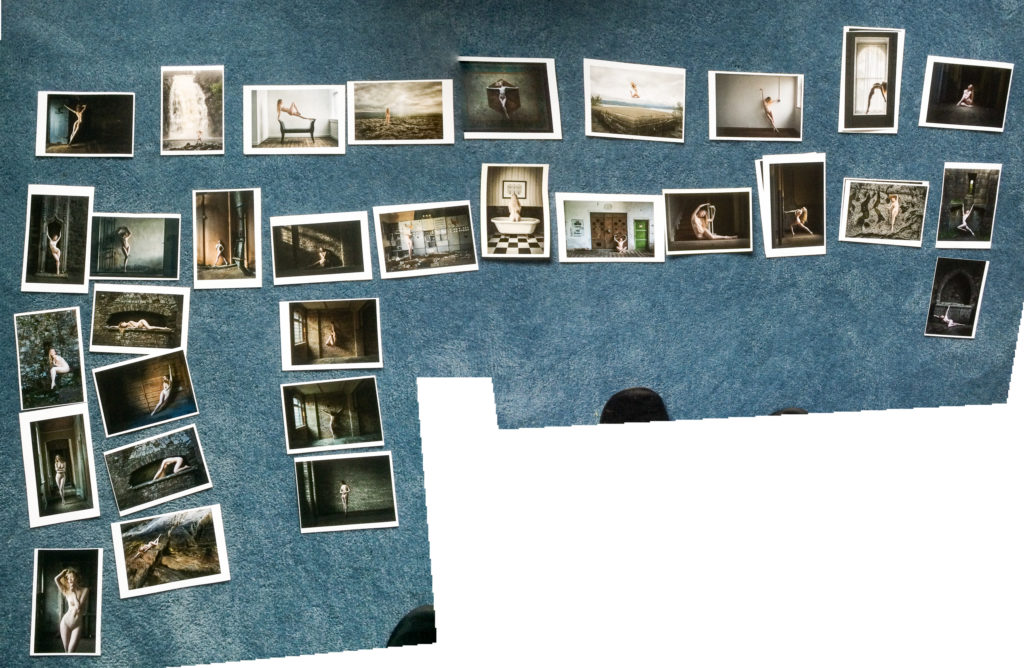
I took photographs of the panel at the various stages when I showed it to people, laid out on the floor and other places using the A6 prints, and I found it quite a good way of getting a feel for the panel. I’ve done a rather basic merge in PhotoShop of the images I took at each stage so that you can see the progress. Some of the images in each panel need flipping and it should be obvious which ones.
The panel has to be over 2 rows, and so I went for 2 rows of 10. Images in the left half point right towards the centre, and vice versa for those on the right. I tried to go for similar tones, shapes or locations in images that were opposite each other. I looked for a variety of indoor and outdoor images, and also put portrait shots of Lulu at either end of the bottom row to have a greater variety of shots. I also went for lighter images at the edges, moving to darker in the centre.
This was the very first panel created at Jay’s in April 2016 – click image to see large.
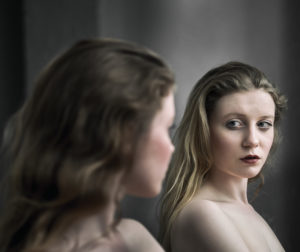
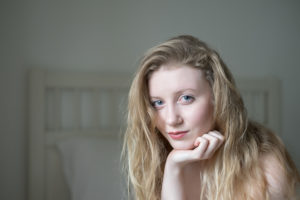
These are the 2 portraits, which I thought matched each other well. One of them is quite natural, while the other was taken at the end of a session in the studio and Lulu had put on darker make-up, and I similarly processed it with a dark feeling.
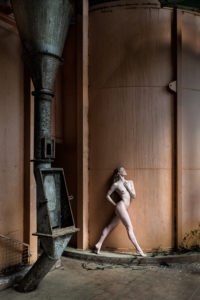
I have two industrial machine room shots that I felt matched (13 and 18), and I had two orange shots that were favourites of mine in image 4 and 7 where I felt the colours matched very well.
By 6th May after showing the panel to a few trusted friends, whose opinions I valued, I had instead decided on 9 images on the top row and 11 on the bottom, this allowed me to have symmetrical central images, and I had a couple of strong images with the table and bathtub that I felt fitted there.
The portraits had moved to the top, as I thought I should introduce the model in image no 1. I felt the vertical in 10 and 20 held the row in nicely, and I also was looking at different possibilities for images no 7, 10 and 20.
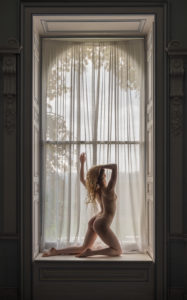
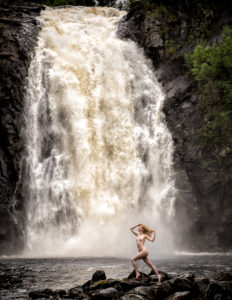
These are two images I had added that I liked, and I thought the matching of the large white waterfall to the vertical window was a little different.
By the 3rd June after a little more fiddling I felt the panel was coming together nicely. Some of the images would require some editing, and I still had to print and mount all of the images, but I was beginning to feel like a Fellowship was possible.
I had removed the two portraits, as somebody had said they were just too different from the the other images as she was much larger in the frame, and after some thought I agreed with them. I still had a couple of options for some of the images.
By the 13th June I’m having some doubts and have done some change arounds. I’ve moved most of the light images to the top row, so that the panel had a good dark base as with my AIPF panel. I thought the poses in 13 and 17 were too similar so had 3 alternatives for 13. I also thought that the poses in 11 and 19 could be considered similar, even though one of them was shot from above, so considered alternatives for 11. You can see the alternative images below each image in the photograph below.
These were the images I thought a bit similar:
The aim was to finish the image selection by the end of July, leaving the whole of August to edit, print and mount the final prints, which left a bit of contingency for the 24th September adjudication. On the 27th July I printed my current selection at A4 and took them to our camera club clubroom where I could see them properly laid out as a panel, during June and July I had a few shoots with Lulu where we produced some images that I felt were interesting and worthy of consideration for the panel, so I printed copies of them as well.
I went to the club that day with Dinah Jayes, a good friend and talented photographer, and the photographer who got me into model photography – you have her to blame/thank for all my model images, and we still often shoot together with a couple of shoots in the next few months :)
When the images went up at A4 size things immediately stood out that didn’t when you saw then panel laid out at A6 size. Dinah straight away thought that the waterfall shot was too dominating, with it’s large area of light tone, especially since it was a vertical near the edge of the panel. We thought that there were a lot of images taken at indoor locations, and so replaced some of the these with some of the new images I had worked on, which were taken outdoors. The two machine room images were also replaced, while they are good images there is quite a lot of detail in them, which draws the eye in, the rest of them have textures or colours as backgrounds which are less distracting. Images 11 and 14 would also need flipping, but that’s trivial. We agreed that it looked good with outdoor images on the outside, leading through industrial locations, to images taken in a house at the centre.
By now it’s the end of July and I’m pretty happy with the image selection for the panel. Some of the newer images need working on, plus there were a few edits I’d always wanted to do to some of the other images that I’d never got around to, so now it’s just edit, print and mount and we’re ready.
To be continued……….
UPDATE: Part 2 now available



Leave a reply