Somebody recently commented on one of my images taken from above, asking how I managed to get a pure vertical point of view. Quite a few people have asked this in the past, and I’m always happy to answer queries about my techniques, so I thought it worth doing a blog post about it. The reason I shoot from above is to get a different viewpoint and background. If I look down and what I see looks good then it’s usually a good subject for a shot from above.
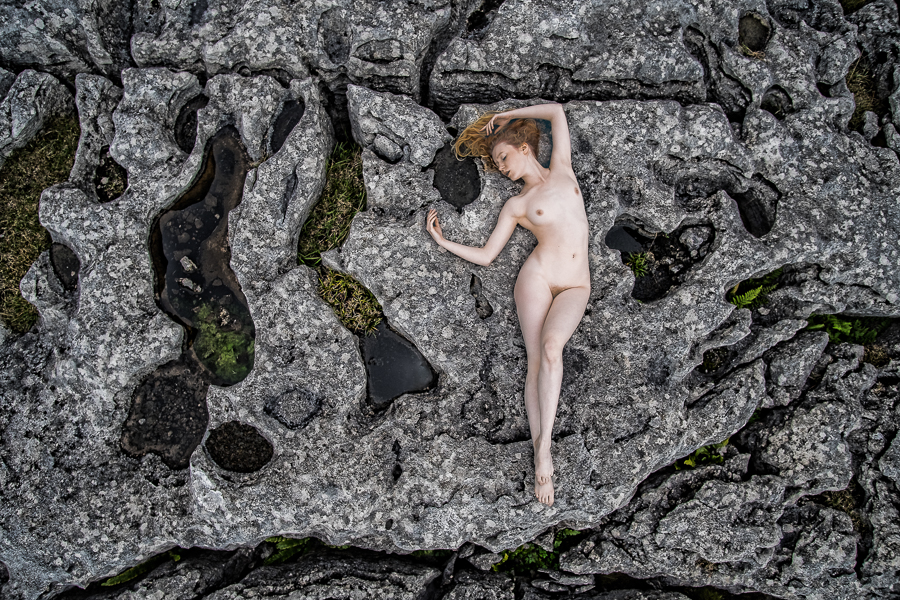
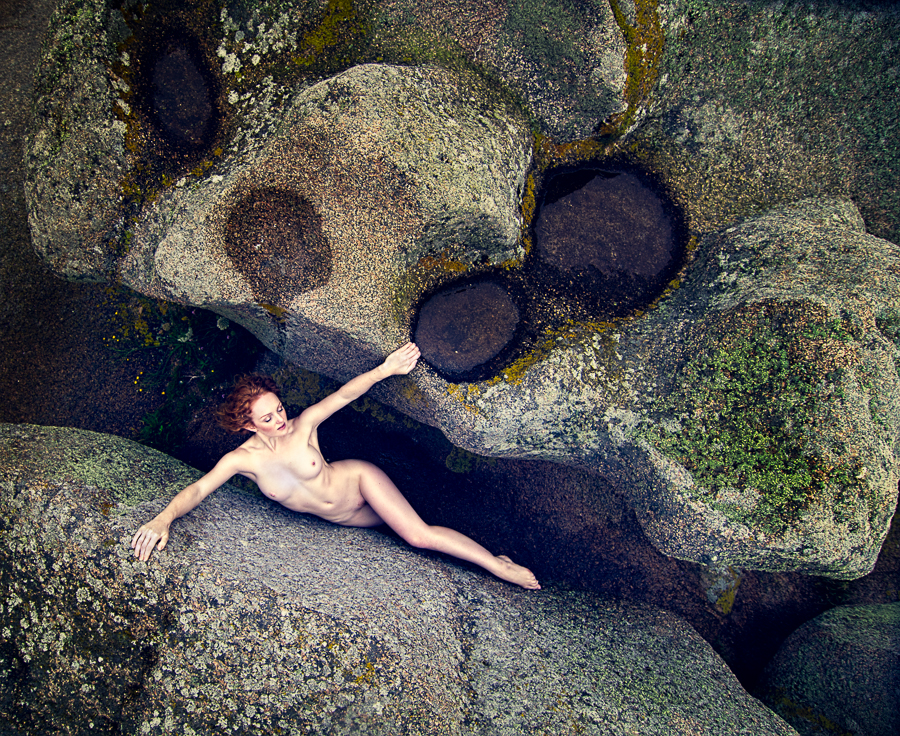
Here’s the image that elicited the comment, and I just loved the shapes of the pools in the rocks, which Lulu Lockhart mirrored perfectly:
You can shoot models from above by standing over them and pointing the camera down, or even raising yourself on a chair, unfortunately the perspective can then be wrong as you are quite close to the model, so the body and especially the limbs closest to the camera become distorted, which is very unflattering to the model. Also as you are standing to the side of the model the camera is not directly above, which further adds to any distortion. My biggest bugbear is when I see images where the photographer was too close to the model, and you get oversized hands, feet or legs.
The camera needs to be directly above, and also quite a distance above the model. You can use ladders or other platforms, but you haven’t always got access to these, especially when you’re in the middle of nowhere with the model. My solution is to put the camera on an extended monopod, tilt it forwards by 45 degrees, and then hold the monopod in front of me at an angle of 45 degrees extending my arms, this means that camera is directly above the model pointing down, and quite a distance above her.
I fire the shutter using a cable release, use autofocus with the focussing point approximately where the model will be, and generally shoot wider than I need to be as framing is a bit trial and error, but it improves with practice. I also check the images on the back of the camera regularly, and adjust the framing as required, and also reshoot a pose if required.
It’s obviously easier with a lighter camera and lens combination, and it very important to ensure that the camera is locked to the monopod head – my Manfrotto head has a locking pin – as if it falls an injured model and damaged camera & lens is not good news. I also tie the camera strap around the monopod to be doubly sure, and I’ve not dropped a camera yet!
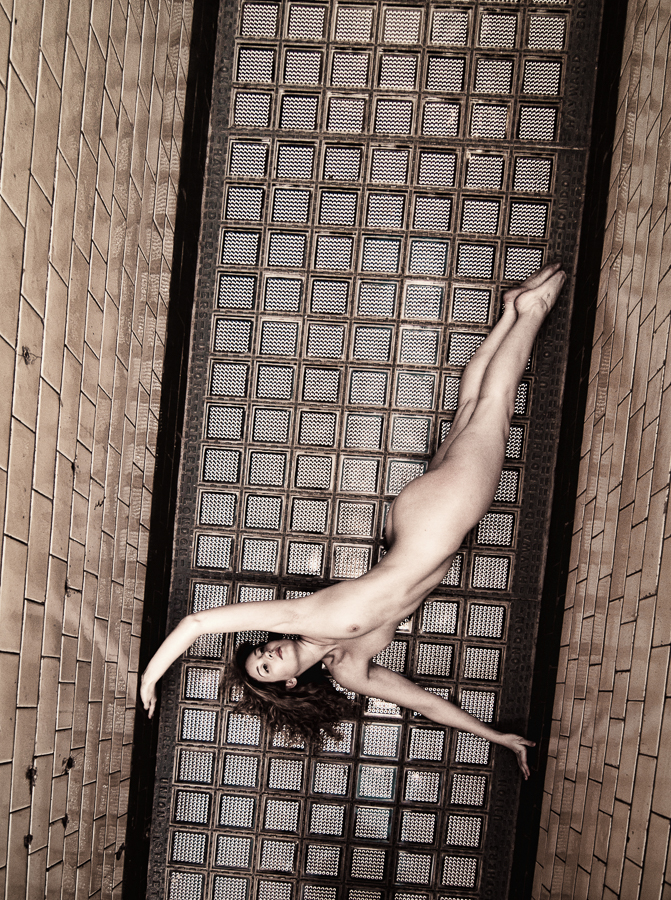
Onto some examples in order of when I took them, this was the first time I used this method in anger with Ella Rose. I just loved the floor, and I had to clone reflections of myself out of some of the glass blocks.
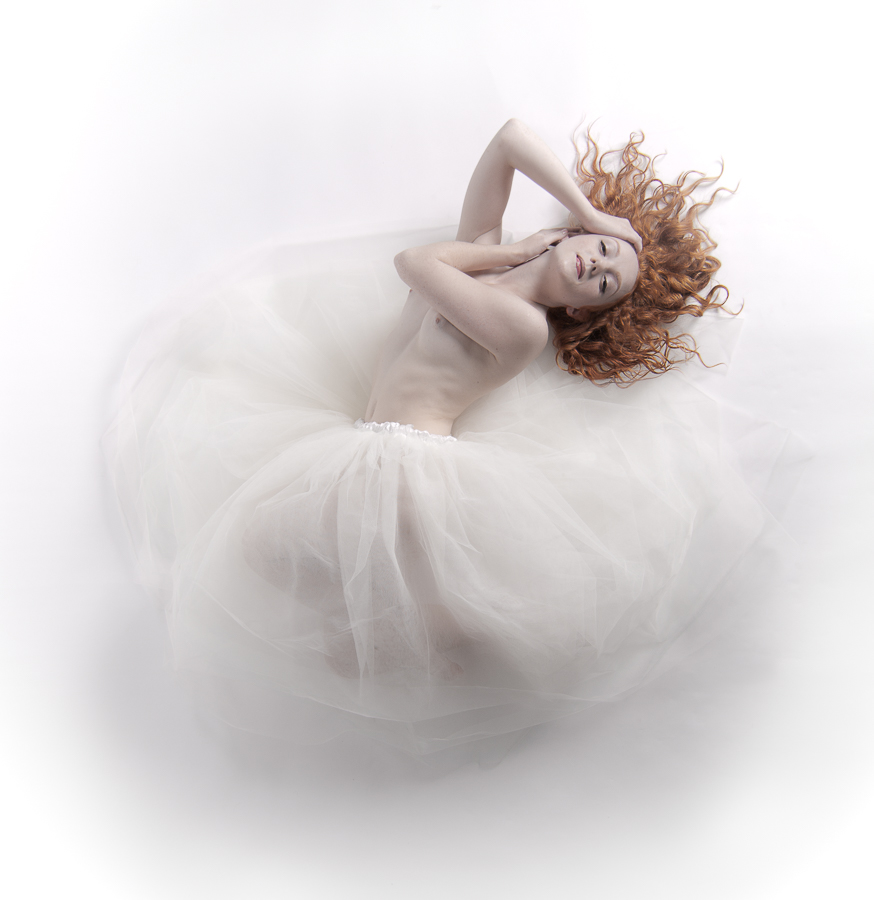
The next time I used it was in the studio with Holly, it looks like she is floating on air, and was one of my early successful images.
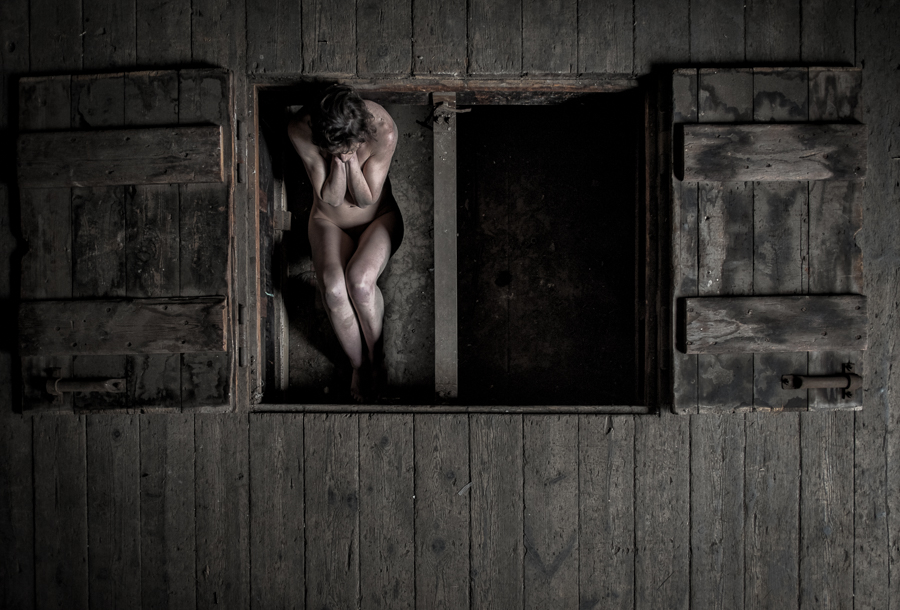
The first use outdoors was with Chrissie Red, and I had to clone my feet out of the image as I often have to. There is a very small bit of distortion as her head is closer to the camera than her feet, but it would have been a lot worse if the camera had been nearer to her.
This was a very wide angle lens, and my arms were pretty much at full stretch. This was also a successful image, with the model being Victoria Summers.
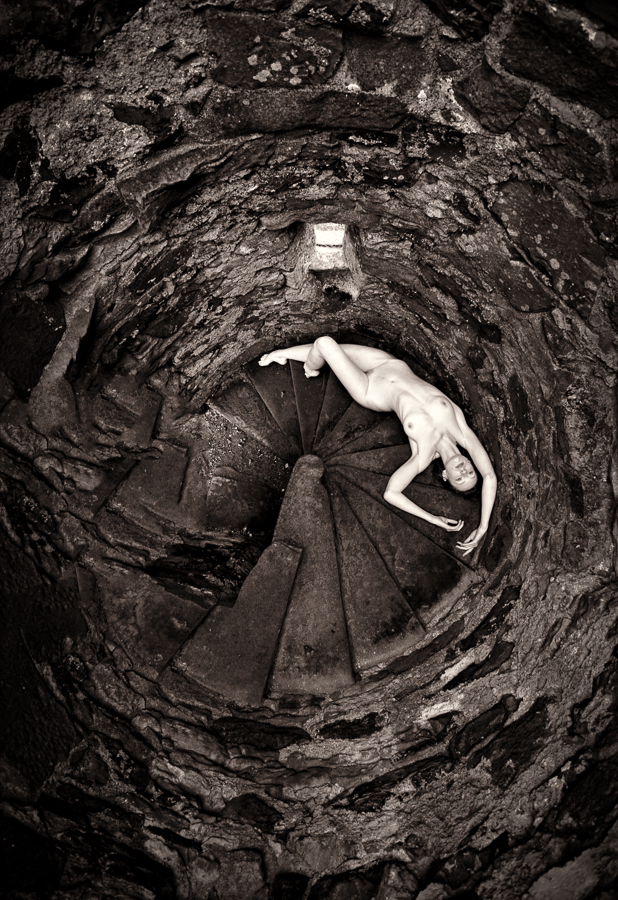
This involved me climbing up onto quite a tall rock, and Holly did a wonderful pose. The arms are slightly lengthened, but I feel that works well with the feeling she is pulling herself out of the crevice.
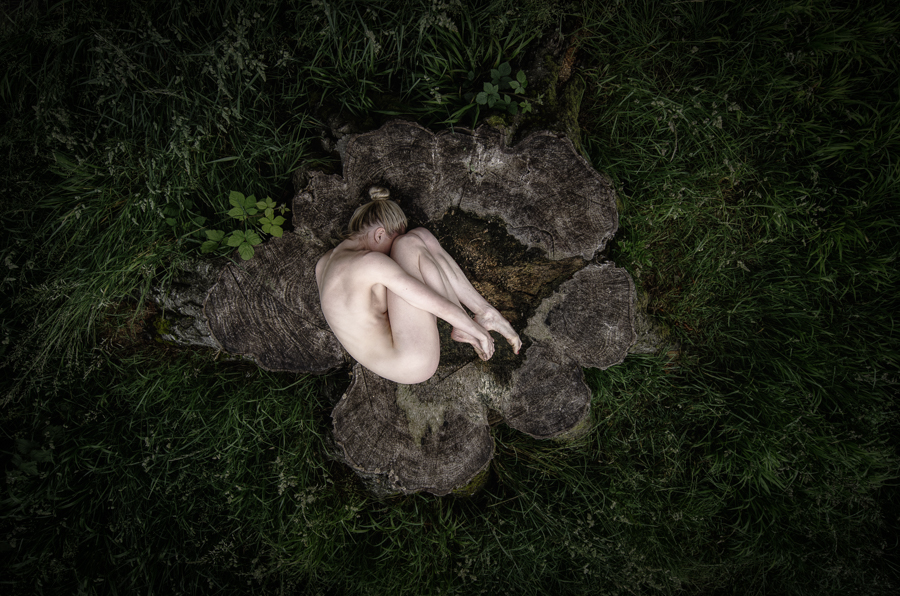
This tree trunk didn’t look much from the side, but it a beautiful shape from above. The model is Katy.
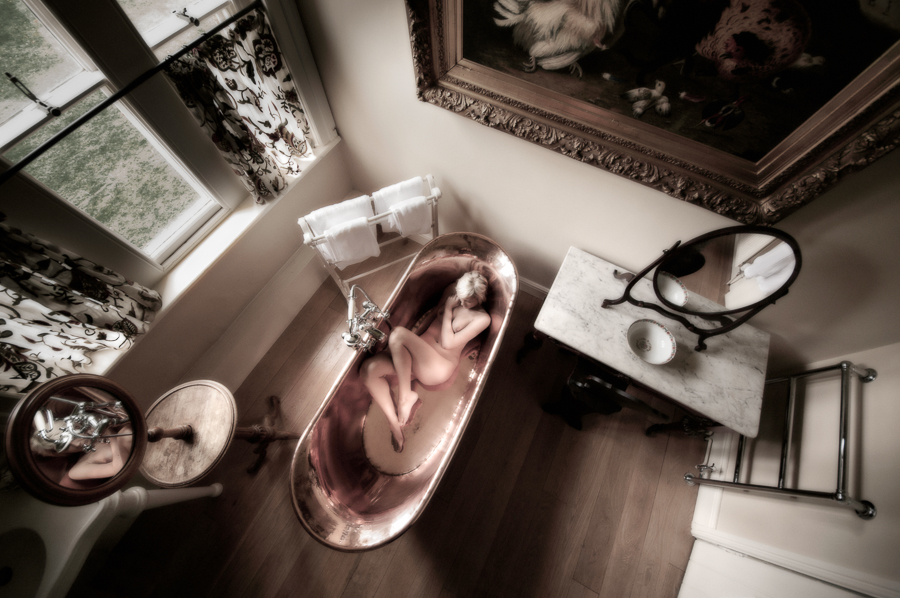
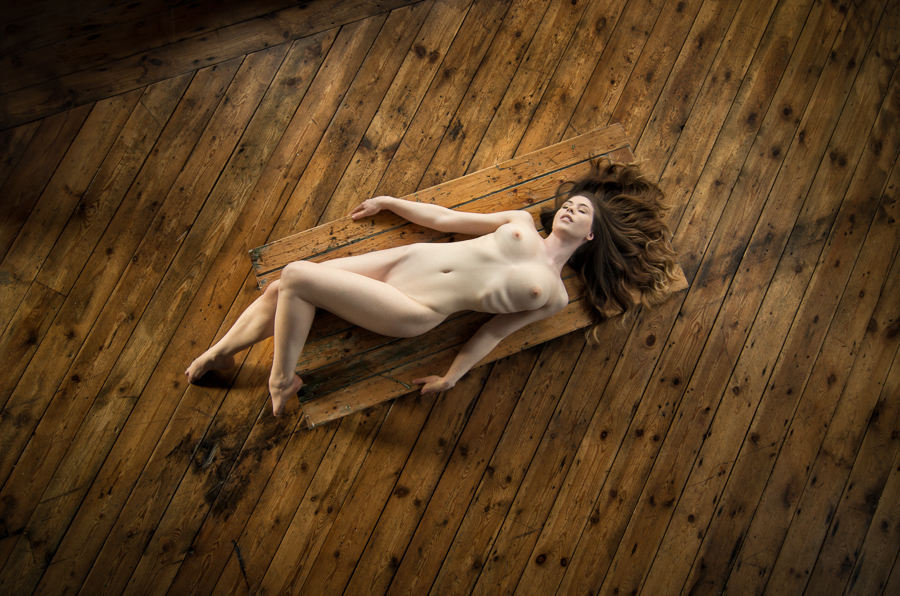
It usually works well with the model at a diagonal as with Elle Beth here, and the table added that little extra. Without the heightened viewpoint there would have been distortion in her limbs as they are not all in the same plane.
Again an image that wouldn’t work from sideways on, but the shapes work very well from above with the model Marmalade.
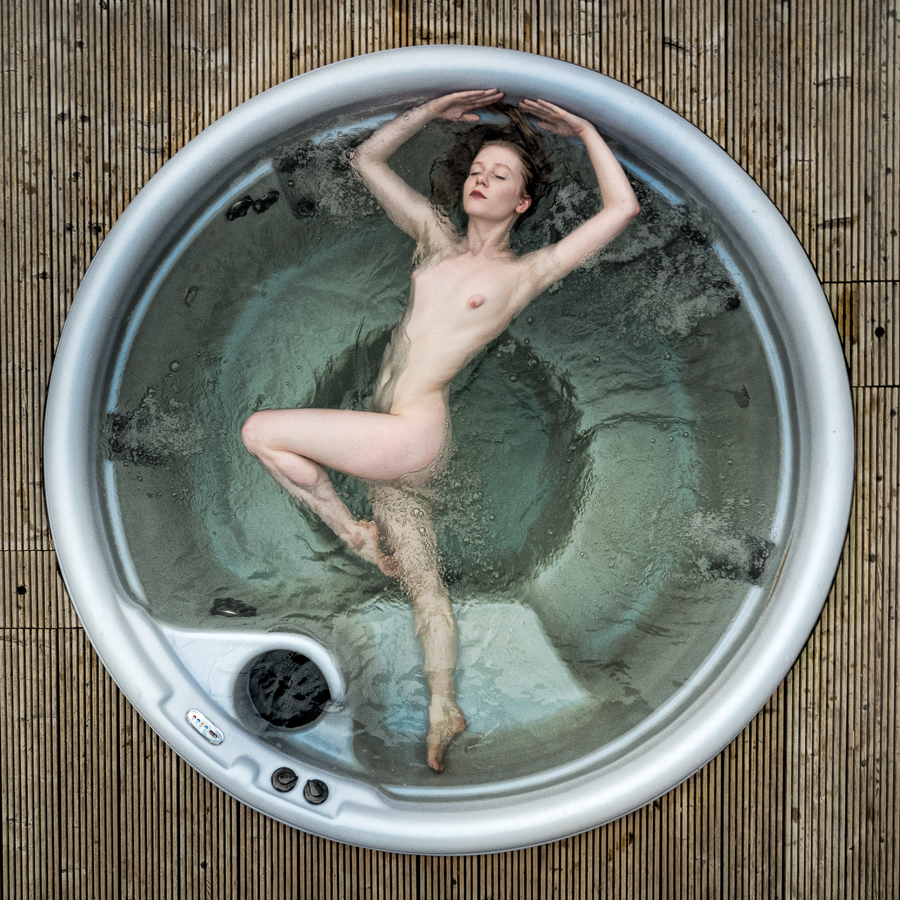
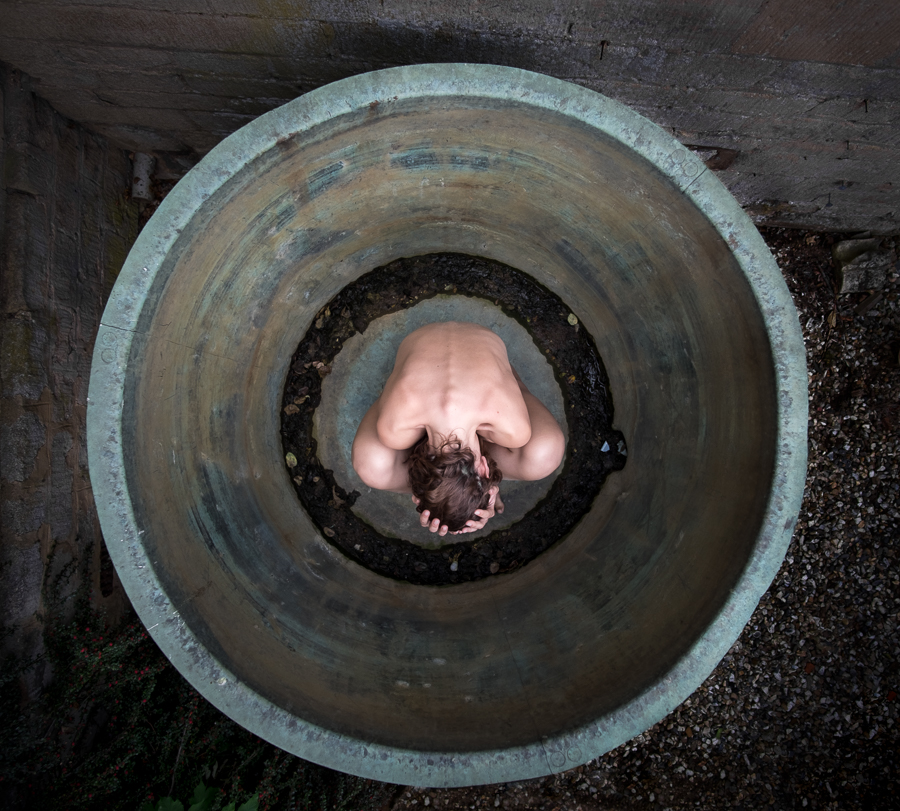
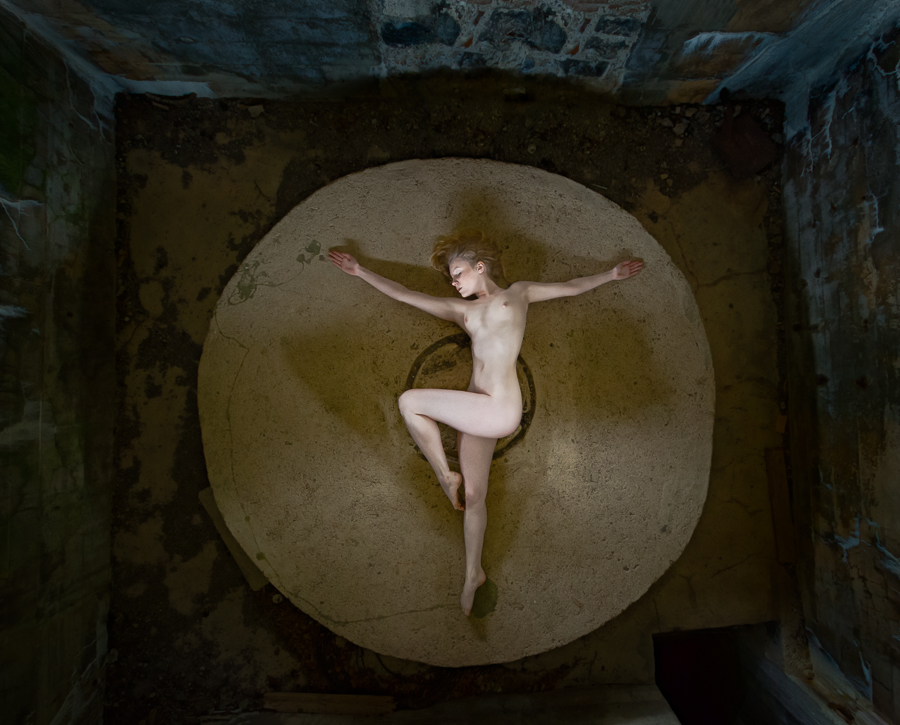
Circles work very well, as you can see their shape properly from above, making it even more important to get directly above. The models here are Lulu, Romi Muse and Lulu again.
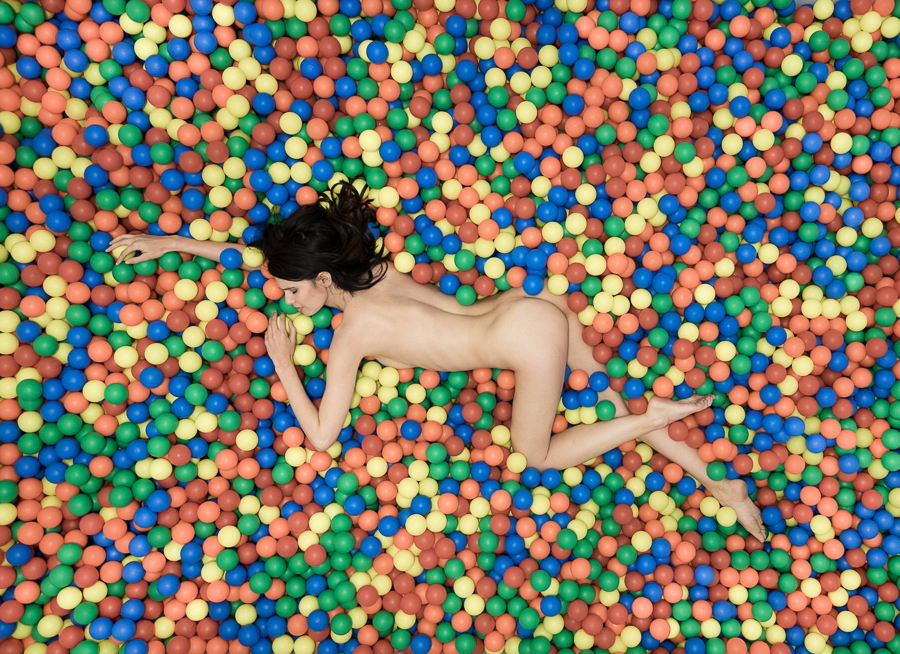
And finally Zoi in a ball pool, you couldn’t really shoot if from any other angle.
I hope this all makes sense, I’ve helped a number of photographers on joint shoots use this technique to get some great images, so feel free to use my technique, just don’t blame me if your drop your camera!
4 Comments
Mr Pile, thanks for sharing your secrets. It must be tricky getting the
45 degree angle you need.
I have never given this any thought. I think I just assumed you great
Mr Pile could fly. :)
Thank you Mr Pope, the angle comes naturally with my Mathematics background :)
Oh I can fly as well, but it’s hard work, so I prefer a monopod ;)
A different view poin talways works well Tim, good set of image here
Cheers Richard, always looking to do something a bit different :)