I’m often complimented on the fact that my images look quite natural, and the models don’t look too ‘Photoshopped’. I usually take this to mean that apart from clearing up blemishes I generally leave the models skin as it is, with texture – and often goosebumps because of the cold! – and I leave the models figure as it is. I love the look of the models I work with as they are, they don’t have plastic looking skin, and they have beautiful natural figures that don’t need exaggerating with the liquify tool.
Having said that I do very occasionally do a little more post-processing than people think, but generally with the aim of tidying up or enhancing the background or look of the image, some of my images are finished in LightRoom, and for the others I mostly do a very small amount of tidying in PhotoShop. I’m not a purist and I’ll do as little or as much post-processing as I feel is necessary to get the best from an image.
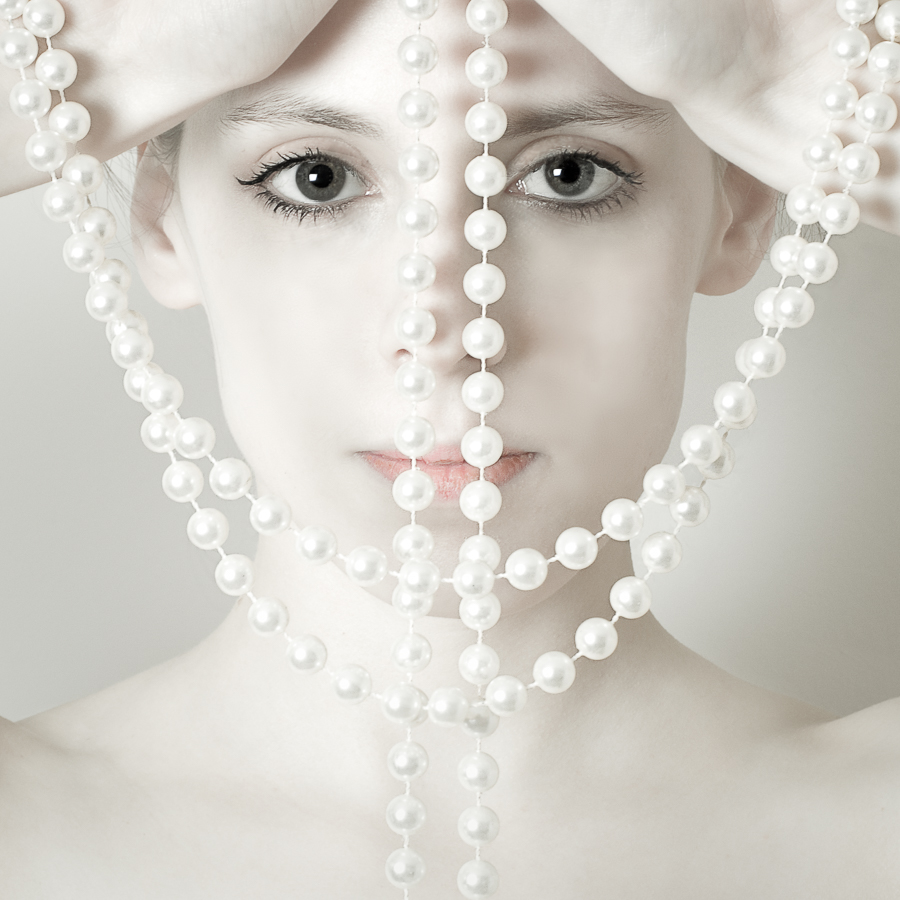
We’ll start with one of my most well known and successful images ‘Pearls’, this is probably the most post-processing I’ve ever done on an image, and I’m still not quite sure what inspired me to put all the effort in. I’m mightily glad I did though, as the success of this single image is what motivated me to really put so much effort into my photography, so anybody who likes any of my work you have Nanette to thank for it :)
Taken on a 10 megapixel camera I realised that it needed a heavy crop to simplify the image, leaving less than 2.5 megapixels in the final image, but that’s still just enough to print to A3 at good quality. The post-processing is largely hue/saturation adjustment layers, and layers filled with white at low opacity, and lots of localised dodging and burning to smooth out the shadows and highlights.
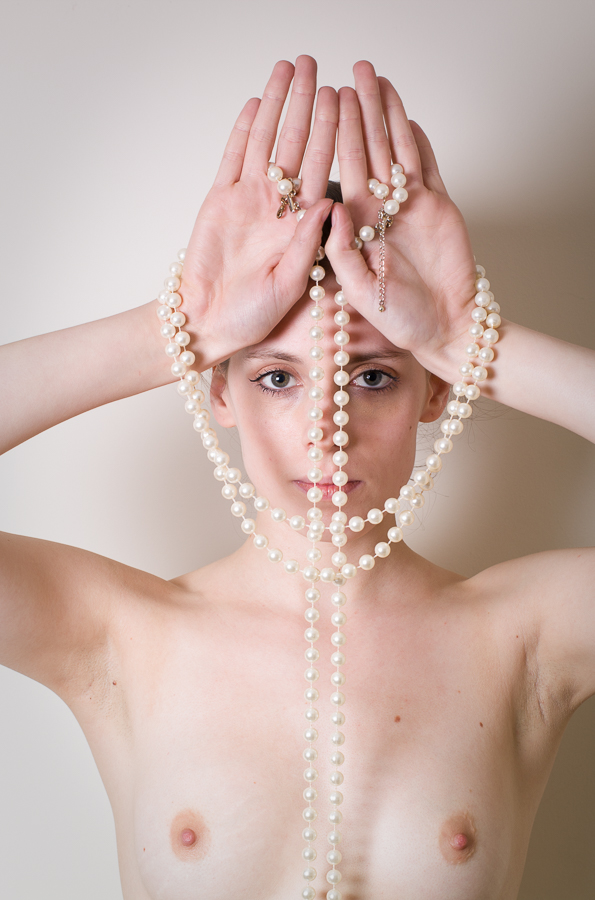
The final image, still one of my all-time favourites, and it hangs up in our lounge where I still get pleasure from looking at it every day.
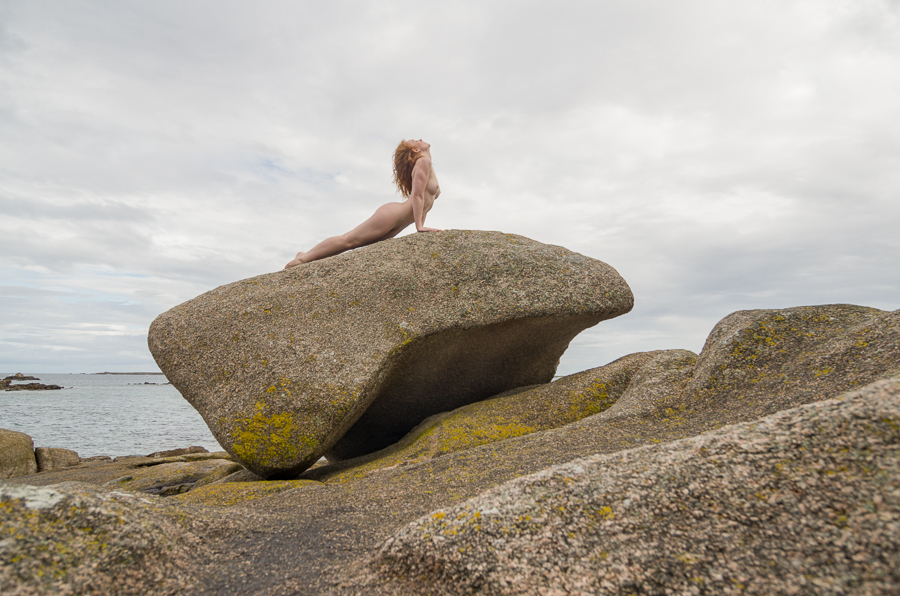
The next image is of Ivory Flame on a large rock. I like the shapes and textures of the rock, I didn’t like the sea behind her and decided it needed turning into rock or sky, I ended up choosing sky as I felt that the slope of the other rocks looked better. By increasing the contrast slider I could see that there was some nice detail in the sky, but applying that much contrast to the rocks and Holly would be overpowering, so a very precise mask was needed so that I could apply a different contrast level to different parts of the image. I don’t use any masking tools, so the mask was done with quick-select and then zooming in to around 400% and brushing it in manually.
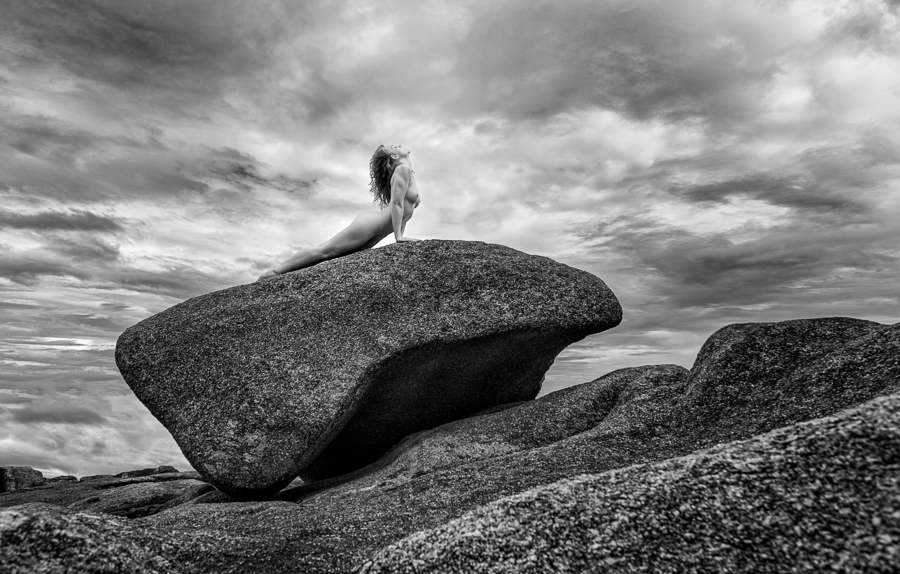
Here’s the final image, as the image was then all about texture and shape a mono conversion was really called for.
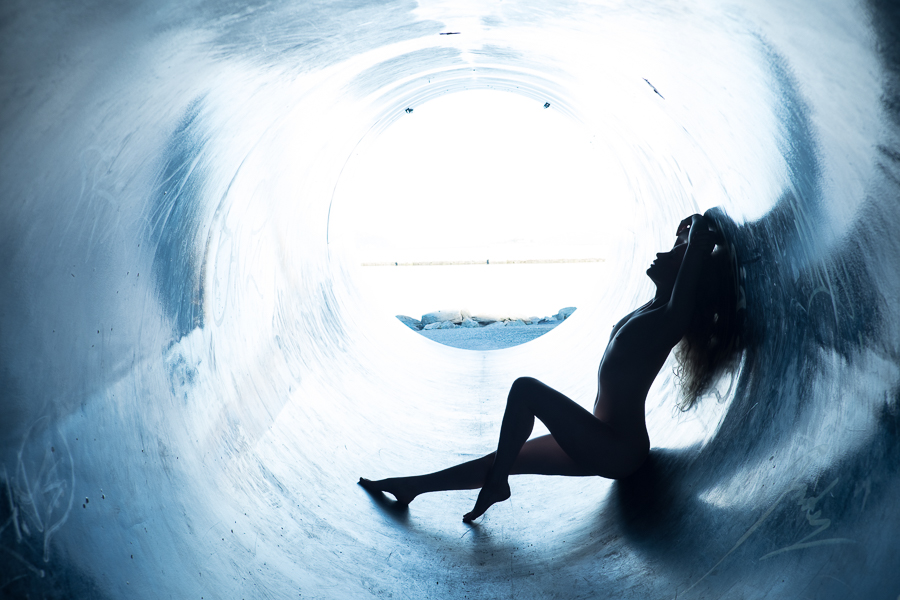
The next image is all about getting the right exposure. The shot is of the wonderful Lulu Lockhart on our trip to visit my good friend and talented photographer Hakon Gronning. We found an interesting piece of public art, which was basically a big cone of metal. Unfortunately all the light is coming from the end of the cone, and as you can see even though Lulu is almost in silhouette the end of the cone is burnt out, and a single exposure would not be sufficient to capture detail in the background and foreground.
I could tell there would be exposure problems at the time, so I took an exposure of just the cone at a very much reduced exposure, retaining detail throughout.
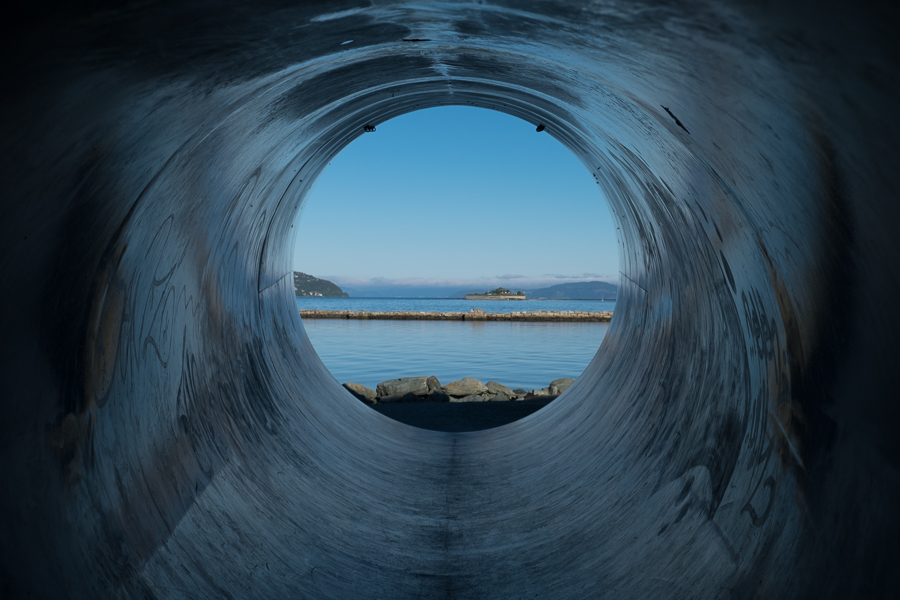
It was then a simple matter of compositing and blending the two images together to produce the final image, which looks like a single exposure and more how I remember it.
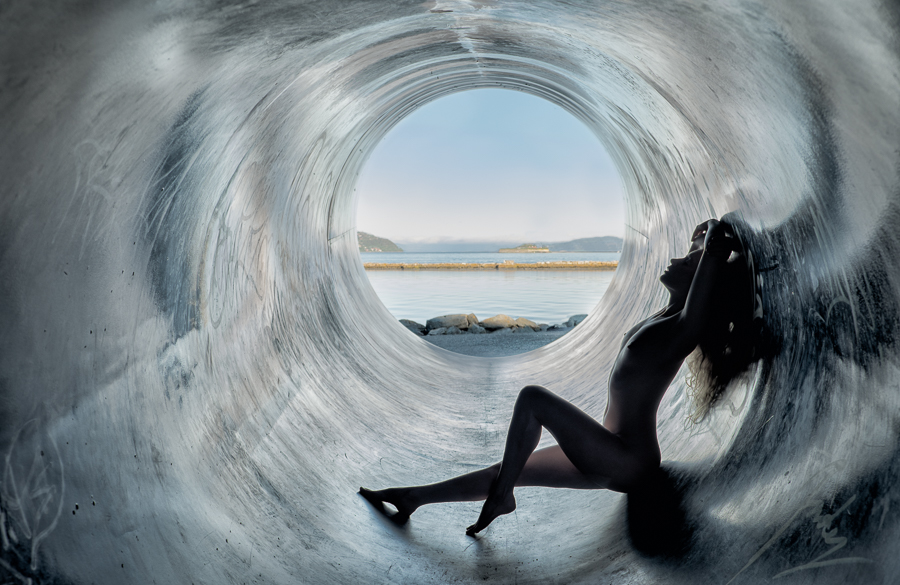
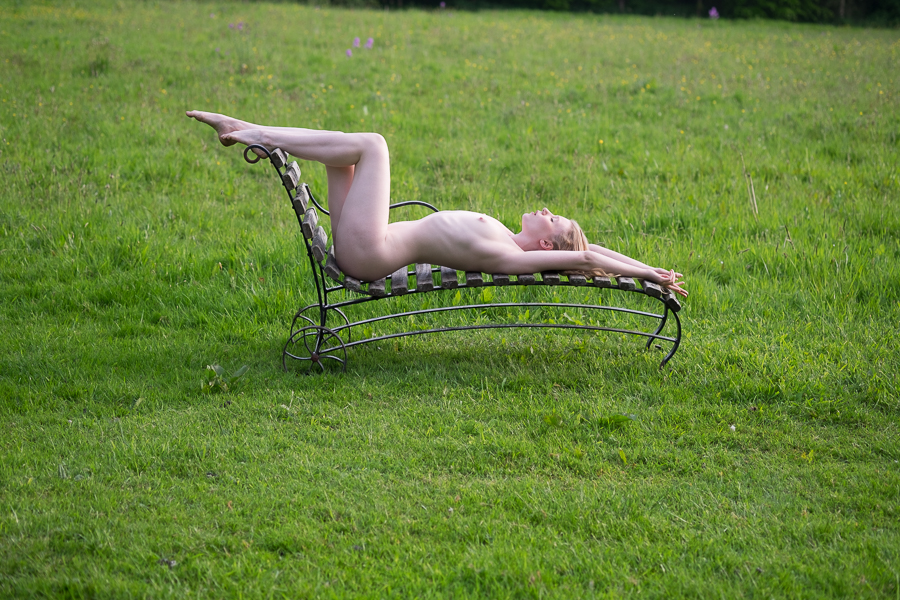
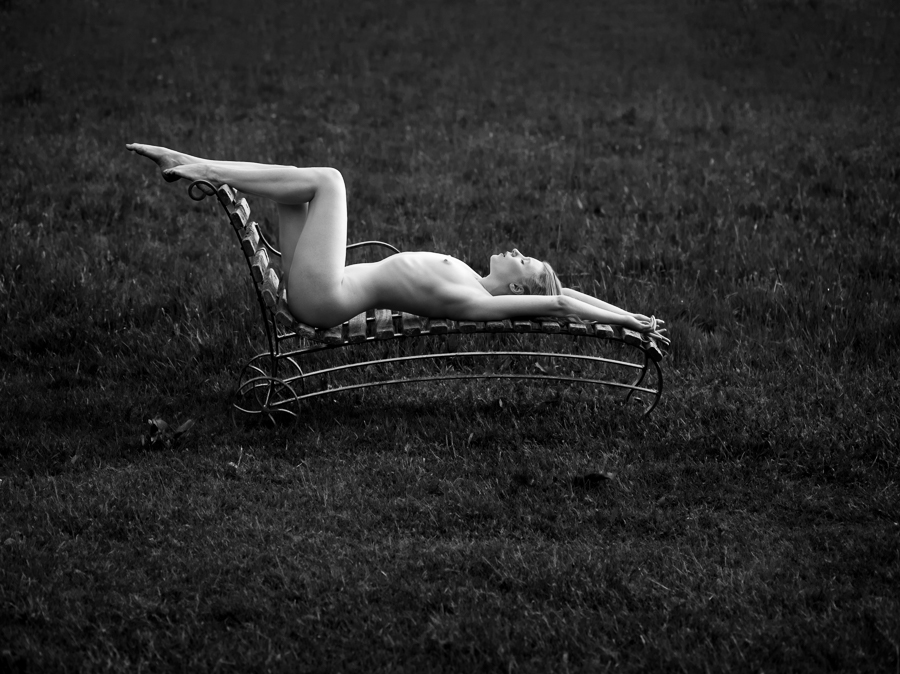
The next two images are much simpler in terms of processing and more representative of my normal workflow. They are really more about basic tidying up and doing a good mono conversion to make the model stand out. As long as you have some light on the model’s body it’s relatively easy to enhance the contrast between them and the background as their skin will be much more reflective than the surroundings.
The first one shows that even with a camera with an electronic spirit level in the viewfinder I still struggle to get my horizons level! I first flipped the image, and quite quickly decided that a square crop would be best.
The healing brush in PhotoShop was then used to remove all the bright areas in the background, and then in the monochrome conversion I pulled down the greens, and played with the reds, oranges and yellows to get the skintone that I felt worked best.
I really love Lulu’s pose here, as well as the hair over her face and shoulder, and think that she really glows.
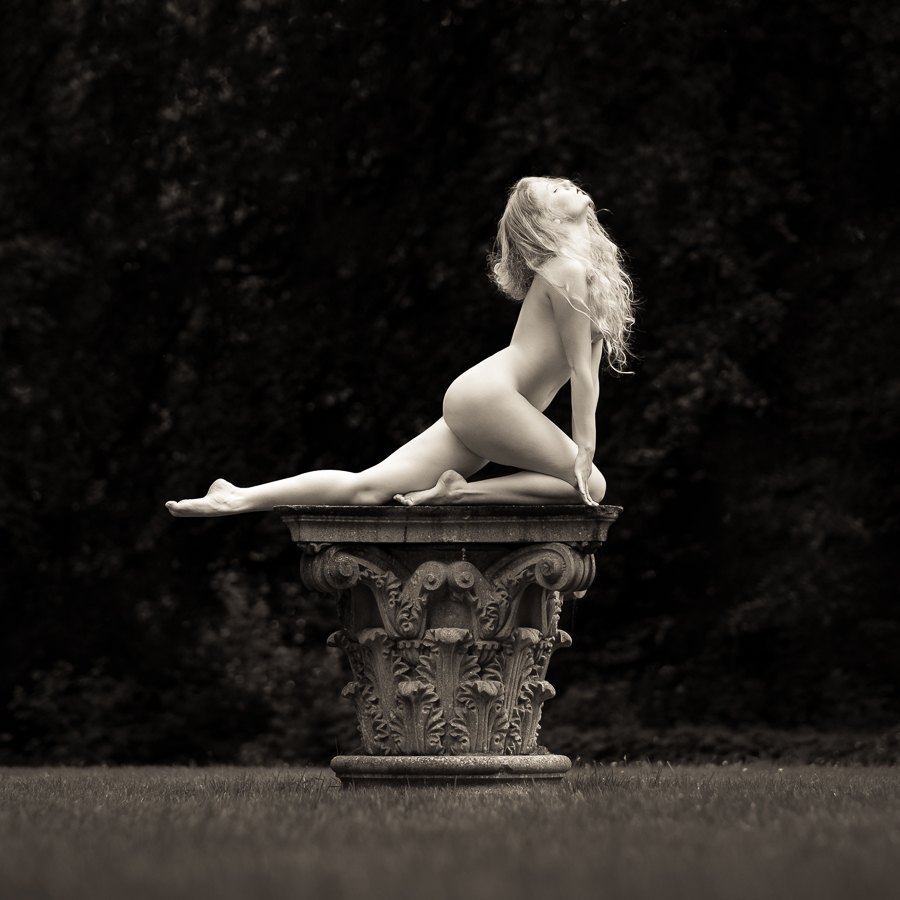
The final image is similar, but with even less processing. Lulu made a super pose mirroring the shape of the bench. I cropped in to just give her enough breathing space. There was no need to go into PhotoShop, bright spots were healed in LightRoom, and an appropriate mono conversion, playing around with the greens, reds, oranges and yellows as in the previous image.
The light on the metallic parts of the bench, and the beautiful tones in Lulu’s skin as well as the super shape she is producing really makes the image.
You can see that while I do some post-processing I generally do most work on the background and not the model. I love the naturally beautiful skin and figures of the models I work with, I really see no need for ‘enhancing’ them with unnaturally smooth skin, or deforming their figures into something they really aren’t, we should be celebrating their natural beauty and not a photographer’s idealistic dream of what models should look like.
Many thanks to Nanette, Holly and Lulu. Three models that have produced some of my most memorable and successful images, and who have helped make me the photographer I am today.
Comment
Thank you for letting us behind the curtain, Mr Pile. It’s interesting to me technical and scientific stuff that goes on in photography.
I love the photos. The large rock location appears to be an interesting place I must add.